Configure behavior & recording systems
Configure new behavior rig system
First steps
Mount cup PNI drives
- From Windows Explorer, select "Map Network Drive" and enter:
\\cup.pni.princeton.edu\braininit\(for braininit)\\cup.pni.princeton.edu\u19_dj\(for u19_dj)
- Authenticate with your NetID and PU password (NOT your PNI password, which may be different). When prompted for your username, enter PRINCETON\netid (note that PRINCETON can be upper or lower case), where netid is your PU NetID.
Install MATLAB 2020a or higher
Download and install NiDAQmx from National Instruments website
Download and install Microsoft Visual Studio Community.
- Select a version compatible with the installed MATLAB version. This typically means the VS Community year should be older than the MATLAB year (e.g., VS Community 2022 for MATLAB R2024a).
- Be sure to install the "Desktop development with C++" option.
Install Git for Windows
- Install from this link
Installation options:
- Use Git from the Windows Command Prompt (5th pane)
- Checkout as-is, commit as-is (6th pane)
Create ssh key to clone repositories
- Open Git Bash
ssh-keygen -t ed25519 -C "vrrigsbi@princeton.edu"- Leave the passphrase empty (hit Enter twice)
eval "$(ssh-agent -s)"ssh-add ~/.ssh/id_ed25519
Add key to virmen user in github
- Copy the ssh public key to the clipboard in Git Bash:
clip < ~/.ssh/id_ed25519.pub - Open github
- Log in with the vrrigs user (ask your Lab Manager for the password)
- Go to Settings -> SSH and GPG Keys
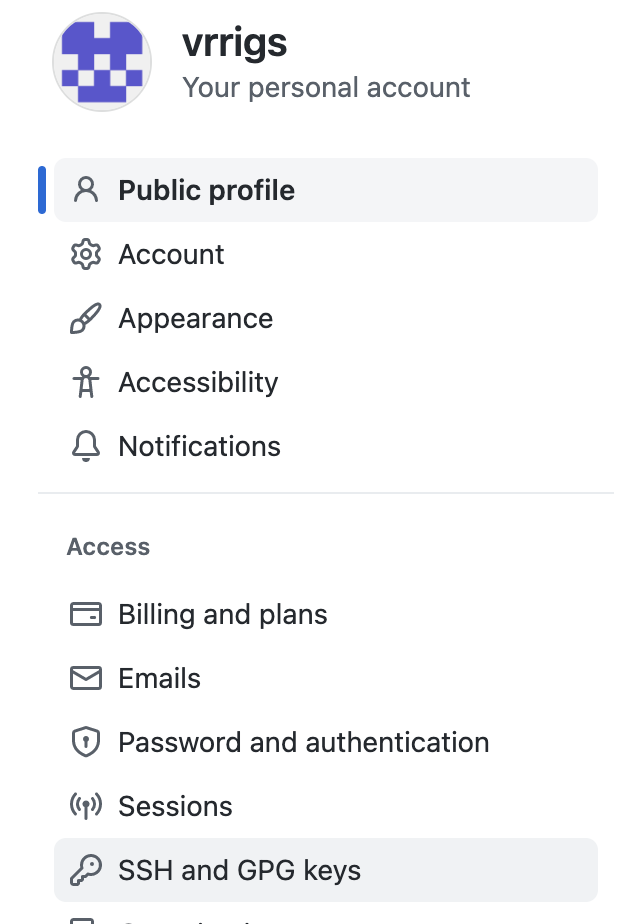
- Click the
New SSH Keybutton - Add a meaningful title for the key and paste the public key from the clipboard into the "Key" text area.
- Click the
Add SSH Keybutton
Compiler
- Install the Visual Studio C++ Compiler; make sure to select C++ support from the menu. https://visualstudio.microsoft.com/downloads/
- In MATLAB, run
mex -setup -v. This sets up the compiler. It should output something like "Microsoft Visual C++ 202X".
U19-pipeline-matlab Repository
- Open Git Bash and execute:
cd /c/Experiments - Clone the U19-pipeline-matlab repository:
git clone git@github.com:BrainCOGS/U19-pipeline-matlab.git
MATLAB Instructions
- Run
dj_initial_conf(0) - Enter the user and password for the DB
Virmen Repository
- Create the
C:\Experimentsdirectory - Open Git Bash and execute:
cd /c/Experiments. - Execute
git config --global user.email "vrrigsbi@princeton.edu". - Clone the Virmen repository, called ViRMEn:
git clone git@github.com:BrainCOGS/ViRMEn.git.
MATLAB Instructions
- Open MATLAB as Administrator
- Run
install_virmeninsideC:\Experiments\ViRMEn
- If compilation fails, run
mex -setup c++to select the Visual Studio C++ Compiler
- Run:
import_scheduled_tasks(1)if this is a 165 room rig (or one mainly managed by techs)import_scheduled_tasks(0)if this is an acquisition (ephys/imaging) rig or a rig managed by researchers
- Open the file
C:\Experiments\ViRMEn\RigParameters.mand edit the corresponding variables:
- rig: (RigName in the format:
Room#-"Rig"#-T) - rig_type: (
miniVRorNormalVR) - add NIDAQ Channels in corresponding variables (ask your lab manager about these parameters)
- Mini VR projection parameters (ask your lab manager about these parameters)
- Run
lab.utils.add_behavior_rig(RigParameters.rig). - Run the
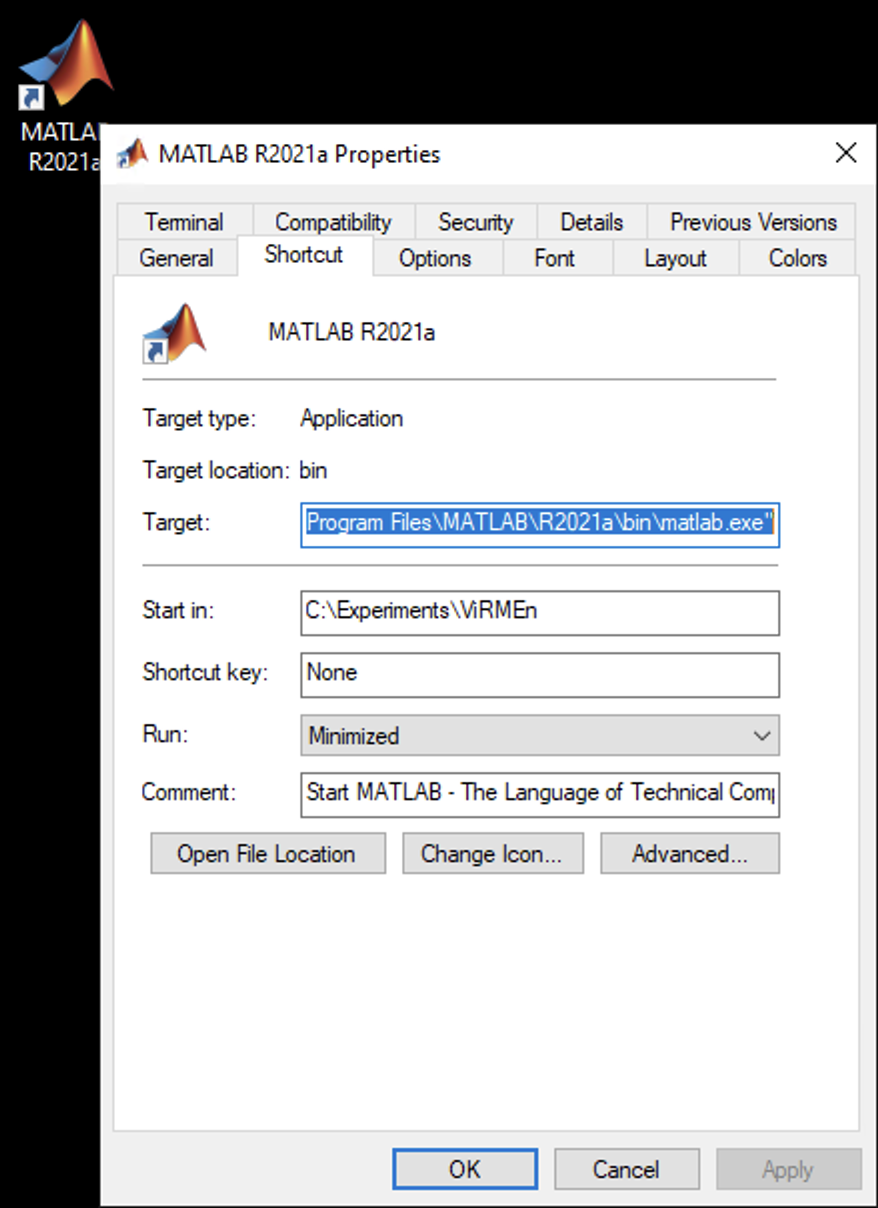
live_calibrationexperiment (ask your lab manager about this process). - Create a MATLAB shortcut and set Start in to
C:\Experiments\ViRMEn. - Add this shortcut to the Windows taskbar at the bottom.
MATLAB Add-Ons
If not all toolboxes were installed during MATLAB installation, make sure these Add-Ons are added to MATLAB:
- Image Acquisition Toolbox
- Image Processing Toolbox
- Image Acquisition Toolbox Support Package for GenlCam Interface
- Image Acquisition Toolbox Support Package for OS Generic Video Interface
- PsychToolbox
- Statistics and Machine Learning Toolbox
- Instrument Control Toolbox
- Data Acquisition Toolbox
- Zaber
Modify the Sleep Behaviors
To prevent the screen from turning off while the subjects are training:
- Under ("Power & Sleep") within Windows, set "Turn my screen off after" to the longest option possible.
- Additionally, set "Make my device Sleep after" to the longest option possible.
Configure new recording system
- First, install everything necessary for the appropriate recording modality (SpikeGLX for electrophysiology, ScanImage for imaging).
- From Windows Explorer, select "Map Network Drive" and enter:
\\cup.pni.princeton.edu\braininit\(for braininit)\\cup.pni.princeton.edu\u19_dj\(for u19_dj)
- Authenticate with your NetID and PU password (NOT your PNI password, which may be different). When prompted for your username, enter PRINCETON\netid (note that PRINCETON can be upper or lower case), where netid is your PU NetID.
- Copy the Automation GUI files: copy
\\cup.pni.princeton.edu\braininit\Shared\AutomationGUI_Installation\AutomationGUI_updateto the Desktop. - Run
Desktop\AutomationGUI_update\firstTimeAutomationGUI.BAT
- Install Git Bash and Anaconda from it.
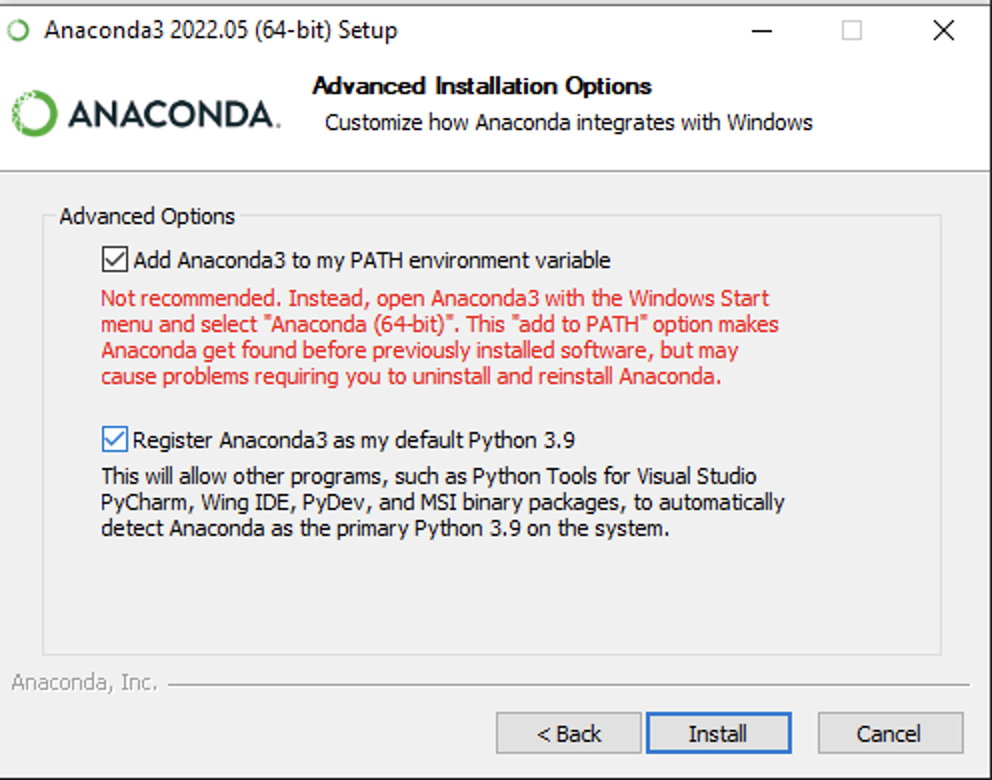
- On the Anaconda advanced options step, check the "Add Anaconda3 to my PATH environment variable" checkbox.
- Run
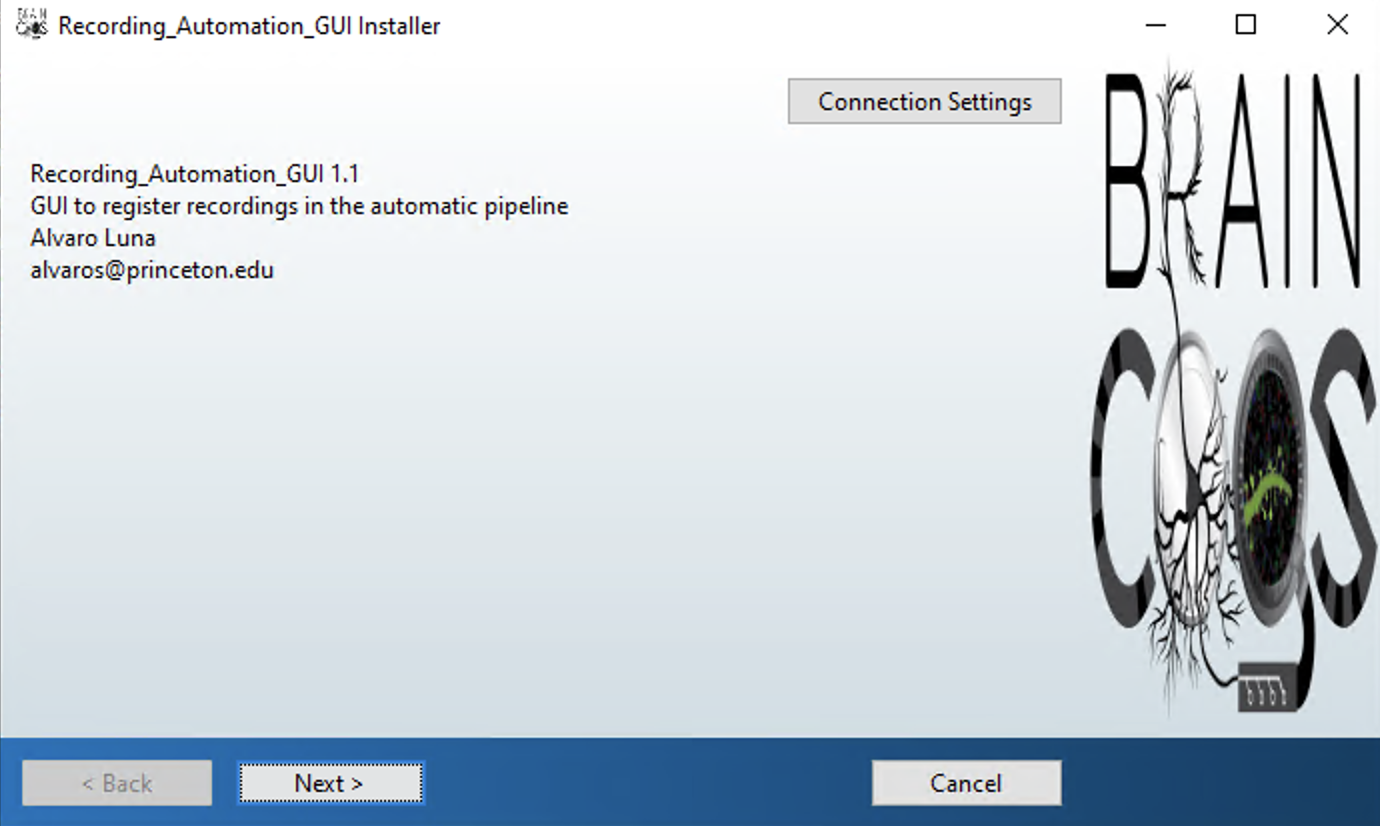
Desktop\AutomationGUI_update\update_AutomationGUI.BAT - Follow the instructions to install the Recording Automation GUI (also called the Workflow Console GUI).
Register recording system
- On a computer with access to the database (e.g., any Rig Computer):
- Open MATLAB
- Execute:
lab.utils.add_recording_system((recording_system_name), (modality))where:
- recording_system_name: (in the format:
Room#-Recording). - modality: (one of the following:
electrophysiology, 2photon, 3photon, mesoscope).