Building a mini VR rig
Introduction
This website is a central repository for the documentation regarding the building of mini virtual reality training rigs as part of BRAIN CoGS at Princeton Neuroscience Institute.
Building documentation is divided into modules, each module contains a detailed explanaiton of the building process. The STEP files for of the entire rig can be found here. And a list of parts can be found here or downloaded in xlsx format
If you need any other file, any other format, need help or just wanted to reach out don't hesitate to contact Juan Luna or any other memeber of the BRAIN CoGS team.
Recommended steps to assembly.
- Begin with the assembly of the bottom part of the cabinet (steps 1-6 of cabinet assembly). In parallel, you can start with the construction of the screen.
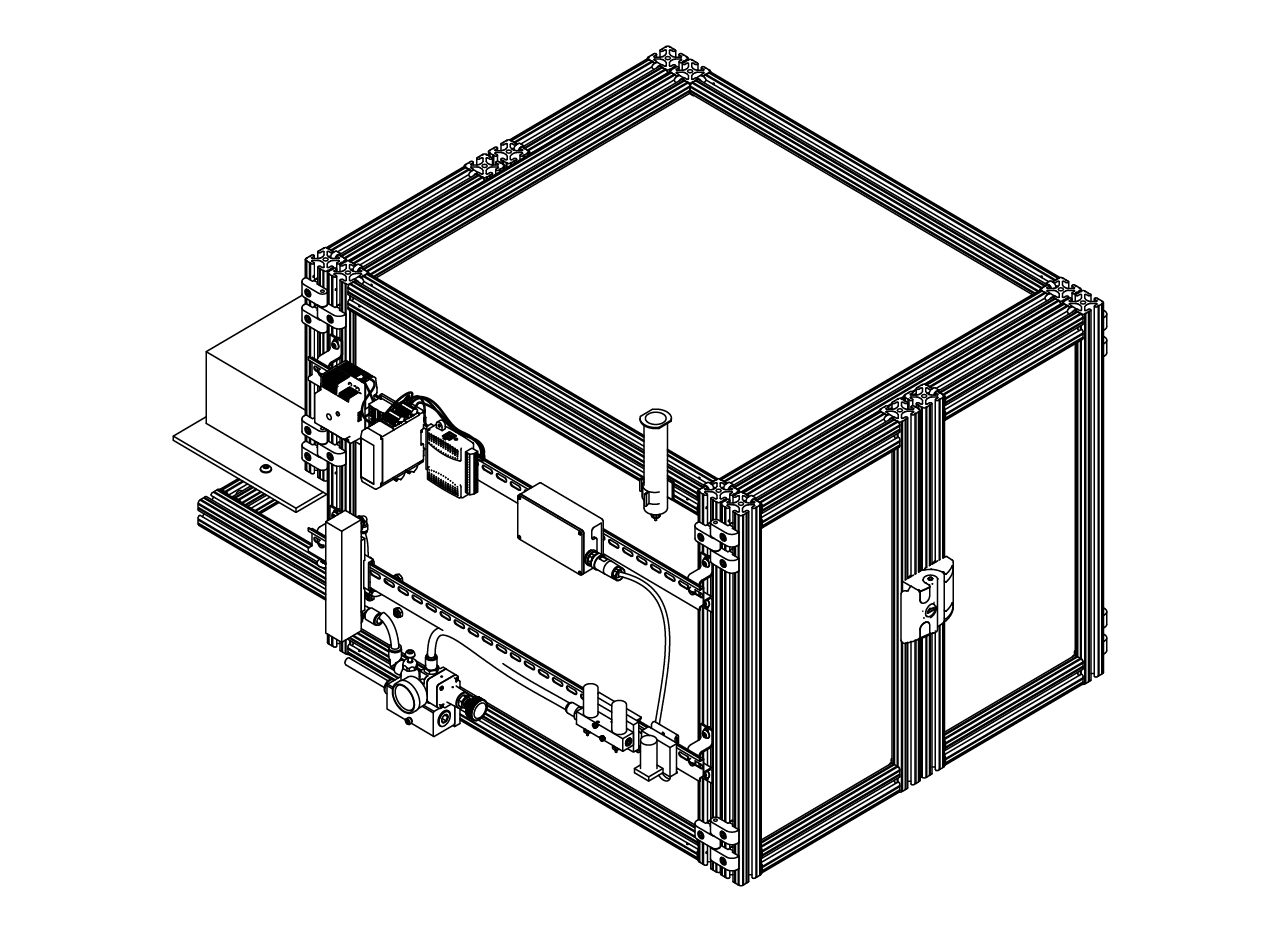
- Follow the intructions to assemble the stage and install it in the cabinet.
- Screw the mirror and the pillars, but not the top plates that will hold the screen.
- Install the air supply hose adapter on the side panel and make the holes on the panel if necessary, install the side panels on the cabinet (step 8 of cabinet assembly).
- Make the hole on the back panel for the projector if necessary, install the back panel and slide down the frame (step 7 of cabinet assembly) and insert the joining strip along the out edges of the panels.
- Place the adapters on top of the pillars and install the screen (step 2 of screen assembly).
- Assemble the top portion of the cabinet (step 8 of cabinet assembly).
- Install the DIN rails (steps 11 of cabinet assembly) and the air supply, air puffs if using, and control module.
- Install the positioning system in the stage of the rig.
- Assemble and install the doors (steps 9-10 of cabinet assembly).